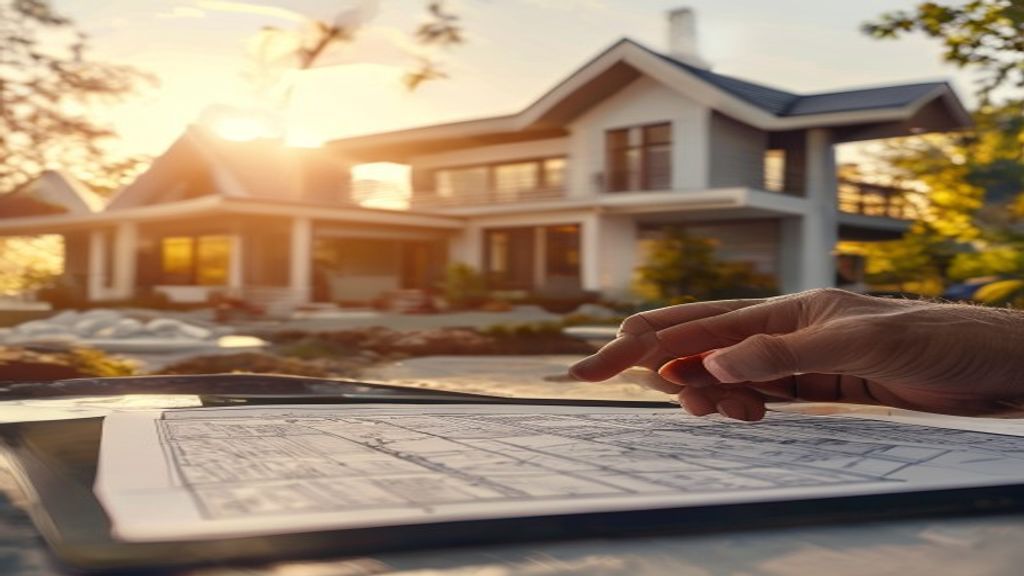
Introduction – The Moment the Blueprint Meets Reality
You’ve spent weeks picturing the perfect kitchen island, the sun‑lit master suite, and a backyard that feels like a retreat. The excitement is palpable, but before the first nail is driven, a hard truth slips in: the budget will decide whether that vision survives the build.
A well‑crafted budget isn’t a spreadsheet you toss in a drawer; it’s a living document that shields your design from surprise costs, keeps the construction crew on schedule, and ultimately protects the home you’ve imagined. Let’s dig into the two foundation‑level steps that keep your dream from turning into a financial nightmare.
1. Craft a Real‑World Budget Blueprint Before You Begin Building a New Home
Set clear cost limits – Start with the total amount you’re comfortable spending, not the amount a lender can lend. Break that figure into major categories (land, foundation, shell, interior finishes, permits, and a contingency fund). For many first‑time builders, the “rule of thumb” is to allocate 30‑35 % of the overall budget to the structural shell and 15‑20 % to interior finishes; the exact split will shift based on your priorities.
Identify hidden expenses – It’s easy to overlook items that don’t show up in a typical contractor estimate. Consider:
- Permit and inspection fees (often 0.5‑1 % of construction cost)
- Site preparation (clearing trees, grading, or dealing with a sloped lot)
- Utility hookups (water, gas, electricity—especially if the lot isn’t already serviced)
- Landscaping and erosion control (soil stabilization can be pricey on hilly terrain)
A concrete example: a family in Colorado discovered a “soil‑stability surcharge” after the initial estimate, adding $12,000 to the foundation budget. Knowing to ask about such items early can prevent the shock.
Allocate a contingency fund – Even the most detailed plans encounter the unexpected—a cracked slab, a delayed delivery, or a material price surge. Most seasoned builders recommend 10‑15 % of the total budget as a contingency reserve. Think of it as insurance that lets you address issues without compromising design quality or forcing a loan renegotiation.
How to monitor the budget in practice – Use a simple spreadsheet or a construction‑management app that lets you track actual spend versus forecast in real time. Tag each expense to a category, set alerts when you approach 80 % of a line‑item, and review the numbers weekly with your contractor. This habit keeps the numbers visible, not hidden behind a wall of invoices.
2. Choose a Smart Floor Plan That Saves Money While Maximizing Space
Simplify the layout – Every additional hallway or dead‑end room adds square footage you’re paying for but rarely using. A compact, open‑concept design can reduce the overall envelope by 5‑10 % while still feeling roomy. For instance, merging a traditional formal dining room with the kitchen creates a single, flexible gathering space that eliminates a wall, a door, and the associated finish work.
Reduce excess square footage – Aim for a “just‑right” size: large enough for your family’s needs but modest enough to keep heating, cooling, and material costs low. A typical three‑bedroom, two‑bath home might average 2,000 sq ft, yet many families function comfortably in a 1,600‑sq‑ft layout when the floor plan is efficient.
Create the illusion of space – Strategic design tricks make smaller homes feel larger:
- Vertical circulation – Opt for a single‑story design if your lot allows; stairs add both cost and visual clutter.
- Multi‑purpose rooms – A home office that doubles as a guest bedroom, or a great‑room that serves as both living and dining area, reduces the need for dedicated square footage.
- Natural light – Larger windows or a skylight in the core of the house can make tight zones feel airy, reducing the temptation to add unnecessary square footage.
Real‑world example – A couple in Texas originally planned a 2,300‑sq‑ft ranch with a separate formal living room. After consulting a designer, they re‑configured the plan to a 1,850‑sq‑ft open layout, saving roughly $45,000 in framing and exterior finishes while still achieving the spacious feel they wanted.
Takeaway – A smart floor plan isn’t about cutting corners; it’s about thoughtful geometry that delivers the same functional rooms with fewer walls, less roof, and lower long‑term operating costs. Start by sketching the daily flow of your family, then strip away any spaces that don’t serve a clear purpose. The result is a home that feels generous, not cramped, and a budget that stays under control.
3. Prioritize High‑Impact Materials That Blend Affordability with Durability
When the budget is tight, the smartest way to keep the look upscale is to focus on material performance rather than brand names. Engineered wood, for instance, sandwiches a thin veneer of real hardwood over a stable plywood core; the veneer delivers the same visual richness as solid timber, while the core resists warping caused by seasonal humidity swings. A family in the Pacific Northwest swapped out solid oak flooring for a high‑grade engineered product and saved roughly $12,000 on material and installation, yet the finished rooms still felt as warm as any luxury‑home showroom.
Fiber‑cement siding is another under‑appreciated champion. It mimics the texture of traditional wood clapboard, but it resists rot, insects, and fire far better—attributes that often require costly maintenance in “the luxury homes” that rely on premium exterior finishes. By choosing a mid‑grade fiber‑cement panel, a developer reduced exterior‑cladding expenses by about 15 percent while still meeting the aesthetic expectations of buyers who want a polished façade.
Beyond the visual appeal, durability directly protects your budget. Materials that tolerate wear without frequent replacement eliminate surprise repair costs down the line. When you pair a resilient surface with a modest price point, you essentially create a built‑in contingency that safeguards the overall financial plan.
4. Leverage Prefabricated Components to Cut Labor Hours and Waste
Prefabrication isn’t just a buzzword; it’s a practical tool that trims both time and trash. Modular wall panels, pre‑cut to exact dimensions in a factory, arrive on site ready to be bolted in place, slashing on‑site framing labor by up to 30 percent. In a recent “new build flats” project in Denver, the contractor reported a $18,000 reduction in labor costs because the wall sections required minimal trimming and no on‑site layout adjustments.
Roof panels that come pre‑installed with insulation and under‑layment also streamline the build. Instead of layering sheathing, vapor barrier, and insulation on the job site, a single panel can be lifted into place by a crane, sealing the envelope in one move. This not only compresses the construction schedule but also cuts material waste—factory precision leaves less off‑cut, and fewer workers mean fewer chances for on‑site damage.
Pre‑assembled cabinetry is another low‑risk win. When cabinets are built to spec off‑site, the on‑site crew spends only a few hours anchoring them, freeing up time for finishing touches that truly add value. A homeowner who chose this route reported a smoother installation process and avoided the common pitfalls of warped doors or misaligned hinges that often arise with on‑site cabinet carpentry.
By integrating prefabricated elements, you create a construction rhythm that aligns trades, reduces idle time, and keeps the budget from spiraling due to unexpected labor overruns. The result is a tighter schedule, less waste, and a finished home that still feels custom‑crafted, even though many of its components arrived ready to assemble.
Also Read: How to Spot the Best Deals on Brand New Homes for Sale Today